I step into your garage and immediately trip over a rogue basketball.
You know the feeling. That split second where you wonder if the floor even exists under all that stuff.
Tools. Holiday lights tangled like snakes. A broken lawnmower wheel.
Three boxes labeled “misc.” (none of them are).
This isn’t storage. It’s a hazard zone.
And it’s stealing square footage you actually need.
I’ve helped over 80 homeowners at Livpristhouse fix this exact mess. Not with magic. Not with more bins.
With real decisions. Room by room.
Most guides tell you to “declutter first” like that’s a button you press. It’s not. You need moves that work while your life is still happening.
That’s why these aren’t generic tips. They’re built for tight spaces. For shared garages.
For people who don’t have weekends to spare.
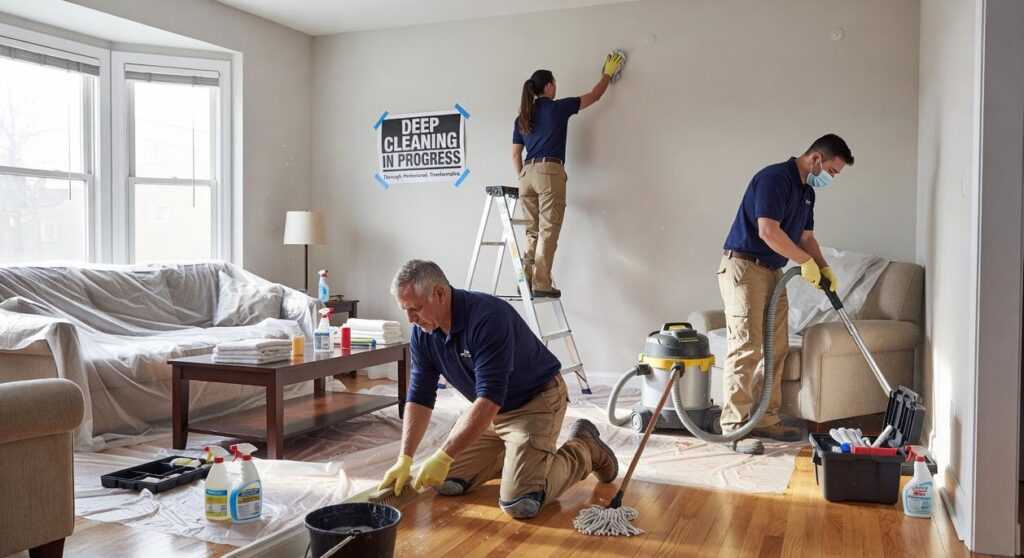
How to Clean Your Garage Livpristhouse starts with what’s on the ground right now. Not some ideal version of your life.
I show you where to cut, where to stack, and where to just say no.
No fluff. No vague advice. Just clear steps that fit your actual space.
You’ll find things faster. You’ll stop tripping. You’ll actually use the garage again.
Let’s get it done.
Assess & Declutter: The Non-Negotiable First Step
I walk into your garage with three boxes. Keep. Donate/Sell.
Trash. No fourth box. No “maybe.” No “I’ll decide later.” That’s the trap.
And it’s why most garages stay messy.
You grab that snow blower you haven’t touched since 2021. Ask yourself: did you use it in the last 12 months? If not, it gets a 30-day test period. with a calendar date written on tape.
Not “soon.” Not “after spring.” A real date. Miss it? It goes out.
Seasonal items live or die by proof of use. No proof? Out.
Expired chemicals? Broken tools? Duplicate screws?
Manuals for VCRs? All go straight to Trash. I mean it.
Don’t rationalize. Don’t “hold onto just in case.”
That “maybe later” pile is where progress goes to die. Replace it with a 30-day rule. And stick to it.
Before you lift a single box, take photos of every zone. Front to back. Left to right.
Write the end date on the box. Set a phone reminder.
You’ll need them to see what changed. And to plan what comes next.
This guide covers exactly how to do it right from day one. learn more
How to Clean Your Garage Livpristhouse starts here. Not after. Not tomorrow.
Now.
Grab the boxes. Start walking.
Zone Your Garage by Function. Not Just Stuff
I stopped organizing my garage by “what fits” after I tripped over a snow shovel in July. Again.
You need four zones. Not more. Not less.
Workbench Area: Reserve 4 ft x 6 ft near a window or overhead light. Mount tools on shadow boards. Not in drawers (so) you see what’s missing before you start.
(Yes, I measured mine with a tape measure and a grudge.)
Sports/Recreation: Put this away from the door. Bikes, skis, yoga mats (they) go where you won’t walk past them twice a day. I keep mine behind the car.
Sounds weird until you try it.
Seasonal Storage: High shelves. Back corner. Think holiday lights, pool gear, that one fan you only use in August.
If you haven’t touched it in 90 days, it doesn’t belong near the floor. Or the door.
Daily-Use Entry Zone: This is your 3-ft-wide runway from garage door to house door. Clear. Always.
No bins. No ladders. No “just for now” piles.
Ever.
Here’s the warning: heavy stuff near the door? That’s how you sprain something and ruin your mood before coffee.
Mark boundaries first. Blue tape. Red tape.
Duct tape if you’re feeling dramatic. See the zones before you buy a single hook.
Garage Storage: Match It to Your Ceiling and Floor
I measure ceiling height first. Always.
Low ceilings (7 (8) ft) choke overhead racks. Stick with wall-mounted pegboards or shallow shelves. You’ll thank me later when you’re not ducking every time you walk past.
Standard 9-ft ceilings? That’s the sweet spot. You can go vertical with light-duty overhead racks.
High ceilings (10+ ft) tempt you to stack everything up there. Don’t. Gravity still works.
Just don’t overload them.
And your ladder skills probably don’t.
Concrete floors hold anchors like a champ. Epoxy-coated floors? Slippery.
Uneven floors? Rolling carts wobble like a drunk penguin. (Yes, I tested this.)
Toggle bolts for drywall ceilings. Lag screws if you hit wood framing. Anti-slip mats on smooth floors.
Non-negotiable.
Overloading overhead racks is how people lose tools (or) worse, their garage door sensor.
Weight limits matter: 75 lbs per shelf for basic steel racks. Distribute load evenly. Put heavy stuff in the middle.
Not hanging off one side.
One budget upgrade that pays off: swap generic bins for labeled, stackable clear bins sized 12”x12”x6”. Perfect for power cords, tape, gloves.
Need more practical tips? Check out Garage Organizing Advice Livpristhouse. It covers what to do after the shelves go up.
How to Clean Your Garage Livpristhouse starts with knowing what stays. And where it lives.
Install Smart Vertical Storage. Without Drilling Into Every Stud

I’ve drilled into drywall, missed studs, and watched a $40 wrench rack crash onto my toe. Don’t do that.
Start with a reliable stud detector (not) the $8 one from the gas station. Tap the wall. Listen.
Confirm. Mark the center of each stud in pencil. Lightly.
Pre-drill pilot holes. Then drive in anchors. Tighten until snug.
Not until the drywall cracks.
No studs where you need them? Three options hold 50 lbs: heavy-duty adhesive hooks (3M Command™ works), track-based rail systems (like Wall Control), and freestanding pegboard walls (yes, they’re stable if weighted right).
Shadow board templates? Print free PDFs from The Home Depot or Lowes.com. Cut, trace, mount.
Always test-load new mounts with 2x expected weight before hanging tools. I use dumbbells. You use what you got.
Pro tip: label every hook or slot with both icon + text. My drill bit slot has a tiny drill icon and “DRILL BITS”. Works at 6 a.m. or midnight.
How to Clean Your Garage Livpristhouse starts with knowing where everything lives. Not guessing.
Mount it right. Then clean like your sanity depends on it. (It does.)
The 5-Minute Garage Reset (No Willpower Required)
I do this every Sunday at 4:17 p.m. Not because I love cleaning. Because I hate tripping over the kids’ scooters.
Here’s the ritual:
Return three misplaced items to their homes. Wipe down the workbench with a damp rag. Check bin labels (cross) out anything faded or wrong.
Scan the floor for trip hazards. That includes cords, loose nails, and your dignity.
It takes 4 minutes 38 seconds if you time it. I time it. (Yes, I’m that person.)
Print the checklist. Tape it to your garage door. It fits.
No folding. Just checkboxes and space for notes like “still missing left bike pedal” or “Dad borrowed socket set again.”
Assign one zone per person. Rotate weekly. Kids handle the tool wall.
You take the car bay. Your partner gets the storage loft. If someone skips?
Not a big deal. Just rotate again.
Pair it with something you already do. Like right after you park the car. Or while the coffee brews.
Habit stacking works better than motivation.
If it fails twice in a row? Don’t blame yourself. Revisit the zone layout.
Maybe the brooms don’t belong next to the paint cans. That’s where real this guide come in.
How to Clean Your Garage Livpristhouse starts here. Not with deep cleans, but with five minutes.
Your Garage Doesn’t Need More Space. It Needs Better Logic
Disorganization isn’t laziness. It’s mismatched storage and zero system.
I’ve been there. Piled boxes. Forgotten tools.
That one spot you just close the door on.
You now know the five pillars: assess first, zone intentionally, match storage to structure, mount smartly, reset consistently.
No magic. Just logic.
How to Clean Your Garage Livpristhouse starts with one zone. Not the whole mess.
This Saturday, pick one zone. Use the checklist from section 5.
Thirty minutes. One shelf. One drawer.
One win.
That’s how systems stick.
Most people wait for “someday.” You’re doing it this weekend.
Your garage isn’t broken. It’s just waiting for your attention.
Go open the door.
Grab the checklist.
Start Saturday.
 Home Care & Organization Advisor
Ask Dawnarina Conger how they got into clean lifestyle essentials and you'll probably get a longer answer than you expected. The short version: Dawnarina started doing it, got genuinely hooked, and at some point realized they had accumulated enough hard-won knowledge that it would be a waste not to share it. So they started writing.
What makes Dawnarina worth reading is that they skips the obvious stuff. Nobody needs another surface-level take on Clean Lifestyle Essentials, Modern Home Design Tips, Household Organization Hacks. What readers actually want is the nuance — the part that only becomes clear after you've made a few mistakes and figured out why. That's the territory Dawnarina operates in. The writing is direct, occasionally blunt, and always built around what's actually true rather than what sounds good in an article. They has little patience for filler, which means they's pieces tend to be denser with real information than the average post on the same subject.
Dawnarina doesn't write to impress anyone. They writes because they has things to say that they genuinely thinks people should hear. That motivation — basic as it sounds — produces something noticeably different from content written for clicks or word count. Readers pick up on it. The comments on Dawnarina's work tend to reflect that.
Home Care & Organization Advisor
Ask Dawnarina Conger how they got into clean lifestyle essentials and you'll probably get a longer answer than you expected. The short version: Dawnarina started doing it, got genuinely hooked, and at some point realized they had accumulated enough hard-won knowledge that it would be a waste not to share it. So they started writing.
What makes Dawnarina worth reading is that they skips the obvious stuff. Nobody needs another surface-level take on Clean Lifestyle Essentials, Modern Home Design Tips, Household Organization Hacks. What readers actually want is the nuance — the part that only becomes clear after you've made a few mistakes and figured out why. That's the territory Dawnarina operates in. The writing is direct, occasionally blunt, and always built around what's actually true rather than what sounds good in an article. They has little patience for filler, which means they's pieces tend to be denser with real information than the average post on the same subject.
Dawnarina doesn't write to impress anyone. They writes because they has things to say that they genuinely thinks people should hear. That motivation — basic as it sounds — produces something noticeably different from content written for clicks or word count. Readers pick up on it. The comments on Dawnarina's work tend to reflect that.